
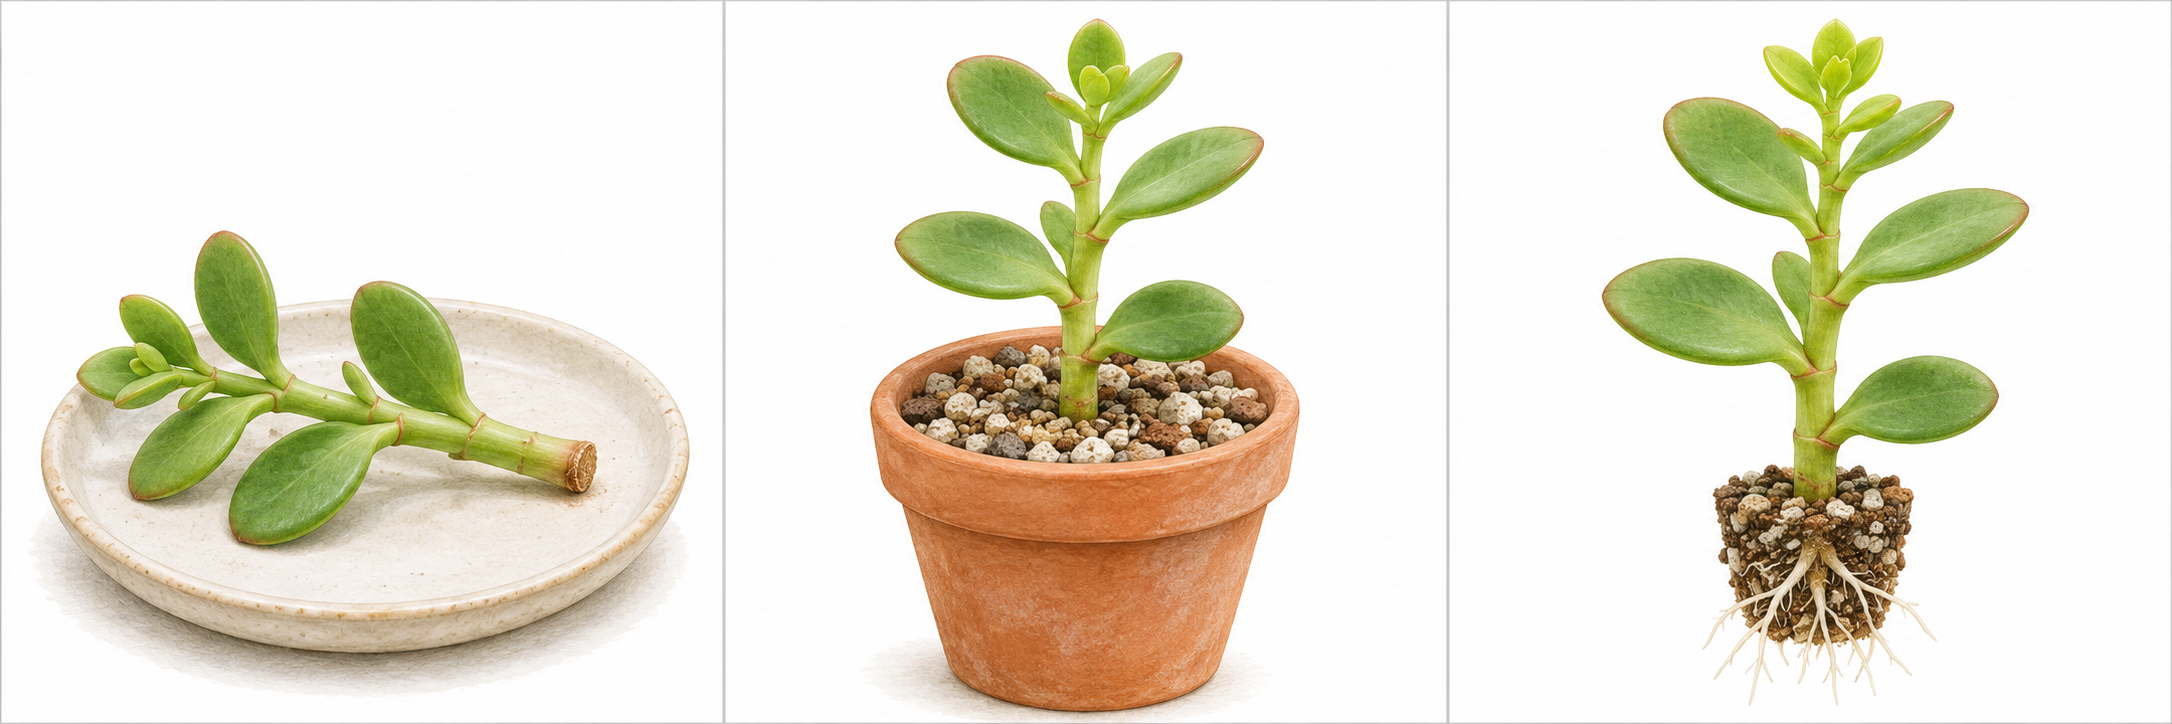
Callused succulent stem or pad · MerlinYes plant guide
Method at a glance
Before you start
Separate any soft or mouldy material. Leave the sound cut end in a dry shaded airy spot until the wound is dry and sealed. Thicker cuts take longer.
Gather a labelled pot with drainage, clean scissors and fresh propagation mix. Unwrap the cutting on arrival and check that the stem is firm and sound.
Plant-specific notes
Wear gloves and eye protection. The latex is irritating. Let sap stop and the wound seal before rooting in a coarse mix.
Setting up the cutting
Use a small draining pot with a gritty, free-draining mix. Anchor the basal end shallowly and keep in bright filtered light. Avoid a humidity dome and wet compost. Water sparingly as the cutting starts to establish.
When to pot on
Look for stable anchorage and fresh growth before increasing water and light. Move on only once roots hold the mix together.
If something goes wrong
A soft or dark base usually indicates rot. Isolate the cutting and discard rotten material. With a healthy remaining section, use a clean blade, let it seal and restart in fresh dry mix.
 English (UK)
 Italiano
 Español
 Français
 Deutsch
 Svenska
 Polski
 Čeština